Argos送信機のデータ所有者がLive Dataにデータを登録・公開する方法を以下に説明します。
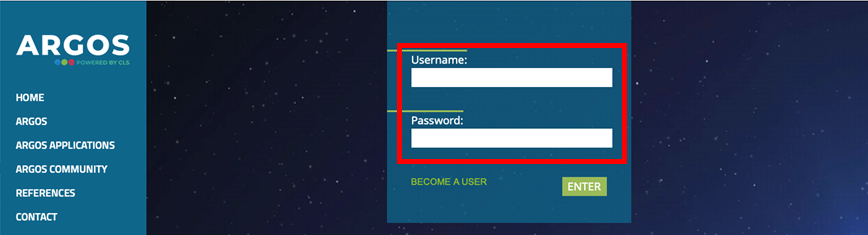
Argos Web サイトに行きログインする。
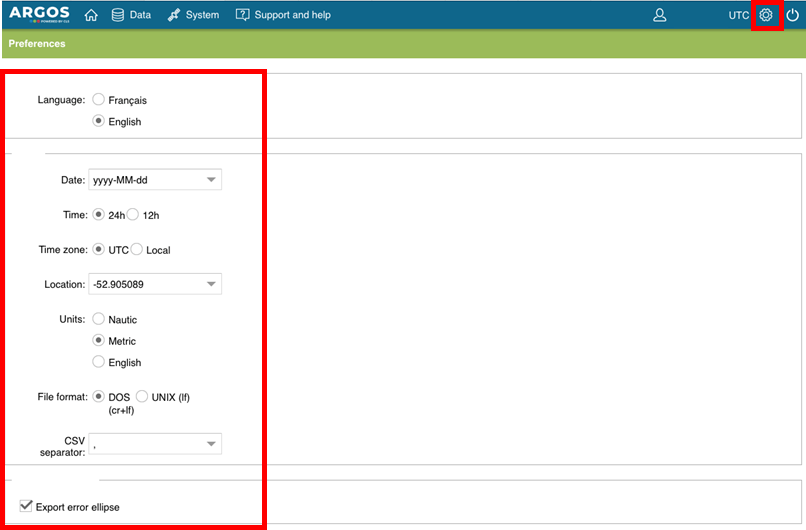
右上のメニューバーにある設定(Settings)ボタンから、以下と同じデータ形式に設定を変更する。
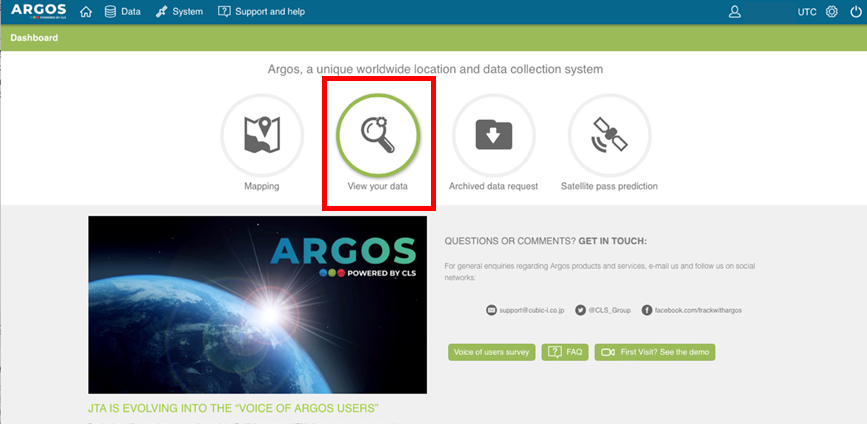
ホーム画面 (Dashbord) にもどり、View your dataをクリックする。
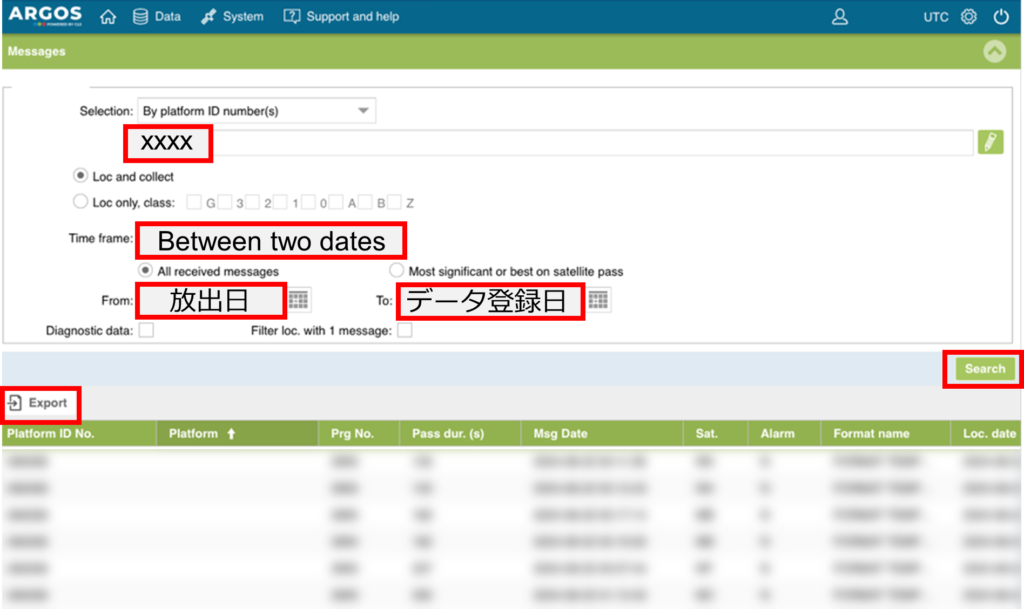
登録するArgos送信機の Platform IDを入力して、Time frameでBetween two datesを選択し、放出からBiPへデータを登録するまでの期間を指定して、Searchすると全データの一覧が出るので、Exportをクリックする。
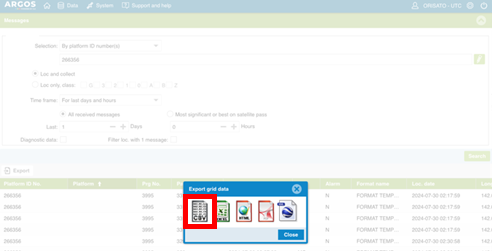
CSV形式を選択して、データをダウンロードする。
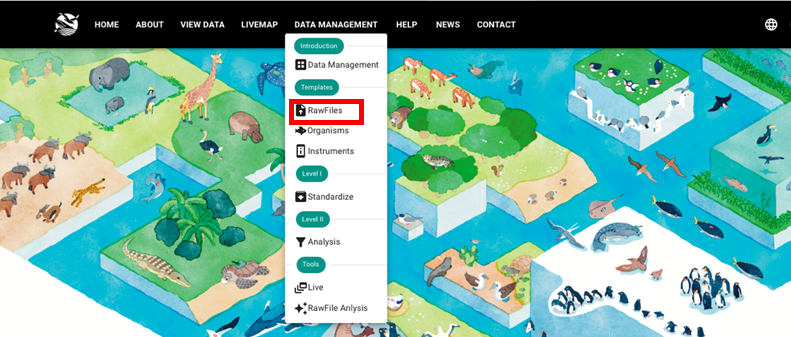
BiPへログインして→Data Management→Raw Files へ行く。
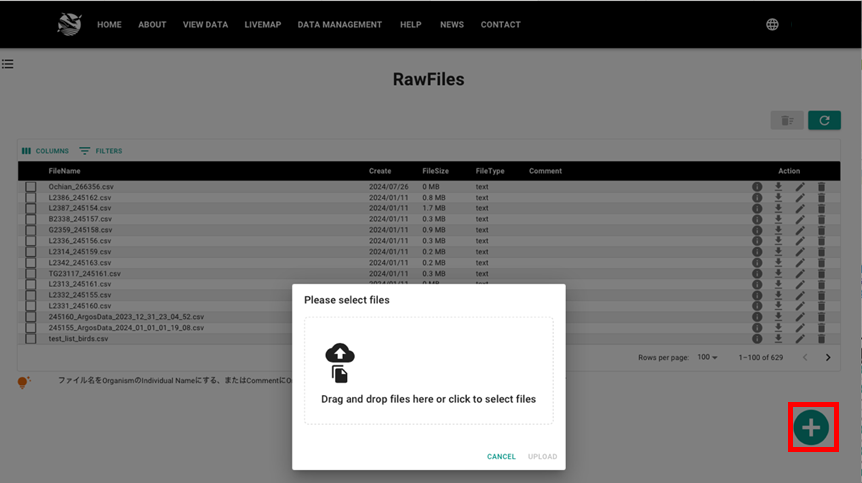
右下の⊕ボタンをクリックして、Argos WebからダウンロードしたCSVファイルをアップロードする。
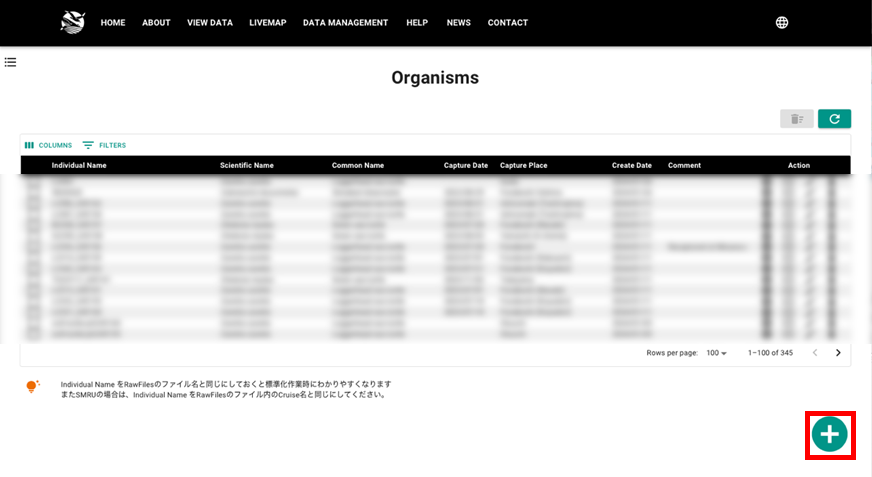
Data Management→Organismsへ行く。
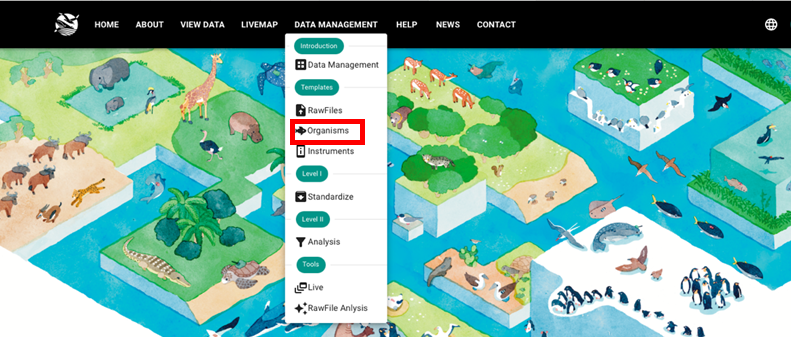
右下の⊕ボタンをクリックして、Organism fileを新規に作成して、個体情報を入力する。個体情報の入力は4. データ標準化を参考にしてください。
Data Management→Liveへ行く。
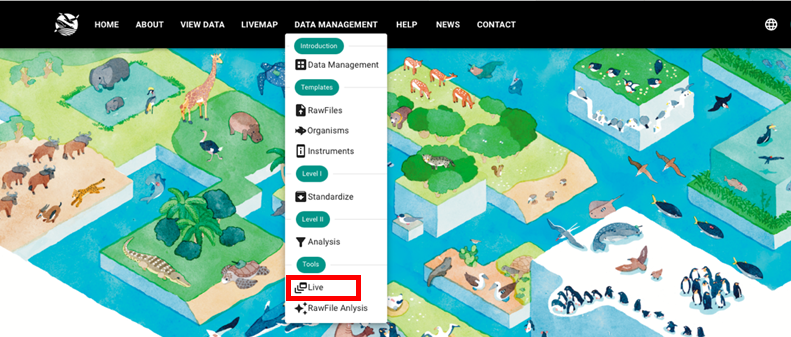
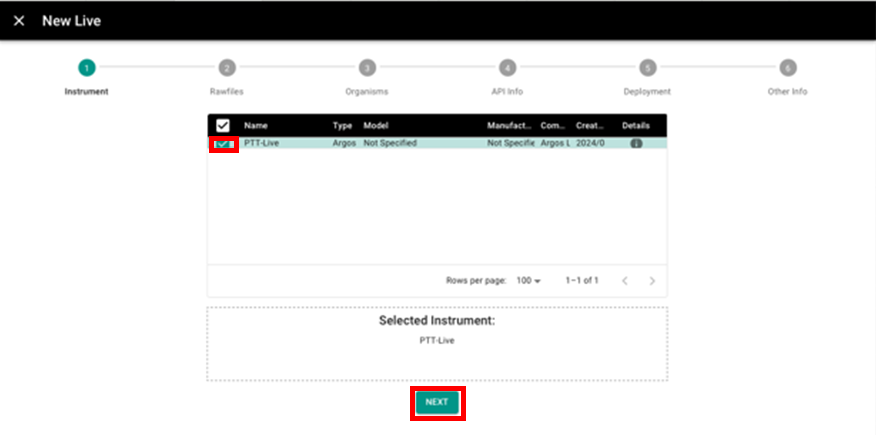
右下の⊕ボタンをクリックして、新規にファイルを作成する。
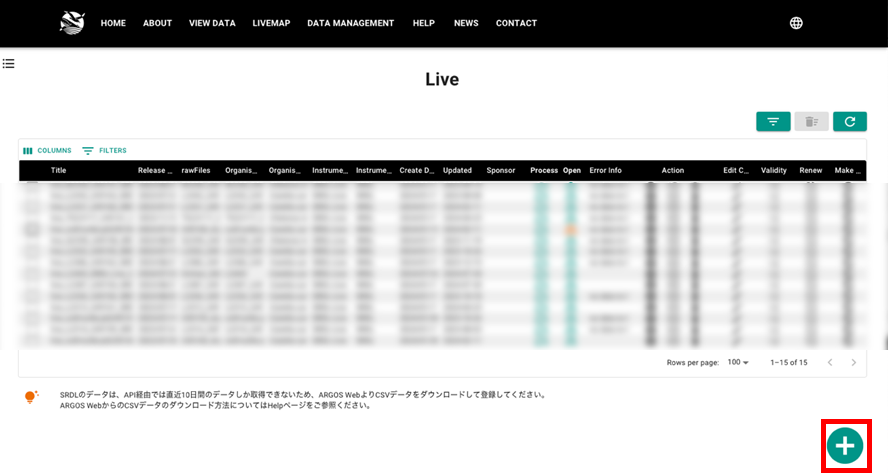
PTT-Liveに☑して、Nextをクリックする。
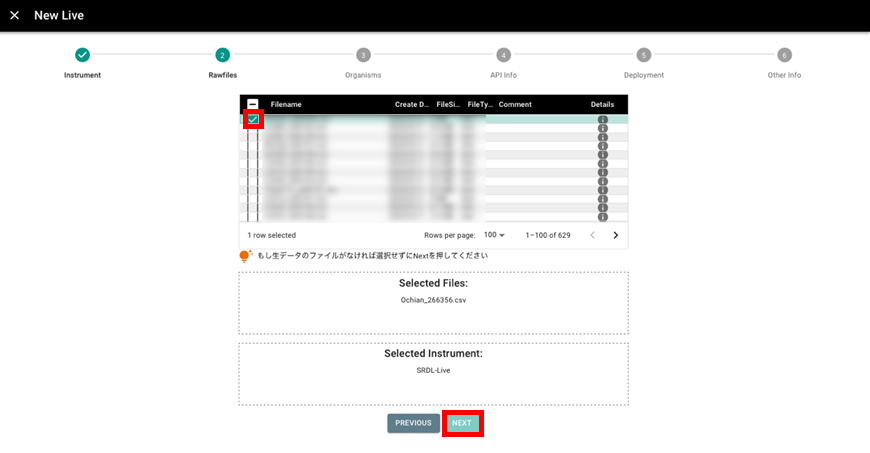
アップロードしたRawFile (CSV) に☑して、Nextをクリックする。
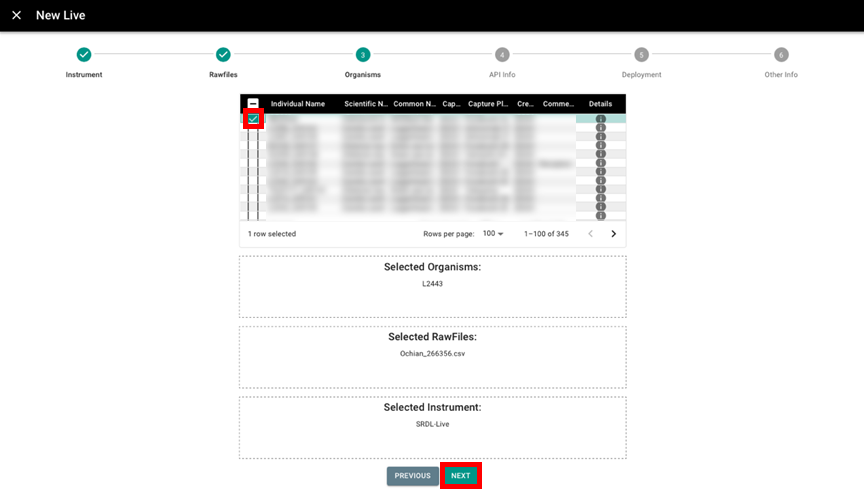
作成したOrganism Fileに☑して、Nextをクリックする。
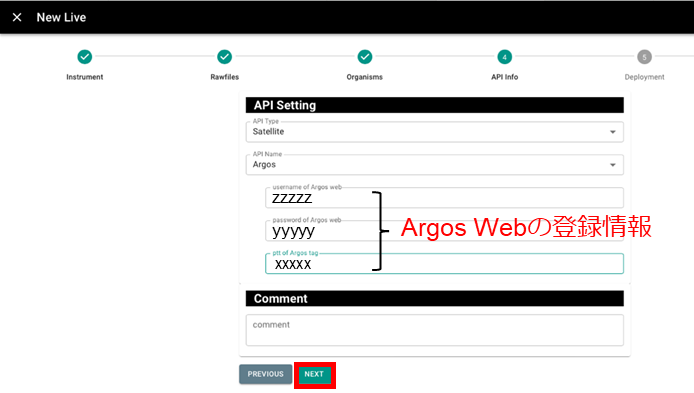
API Settingで、必要な情報を入力する。API Type: Satellite、API Name: Argosを選択し、username of Argo web, password of Argos web, ptt of Argos tagはArgos Webに登録している情報を入力する。追記する情報があれば、Comment欄に記入して、Nextをクリックする。
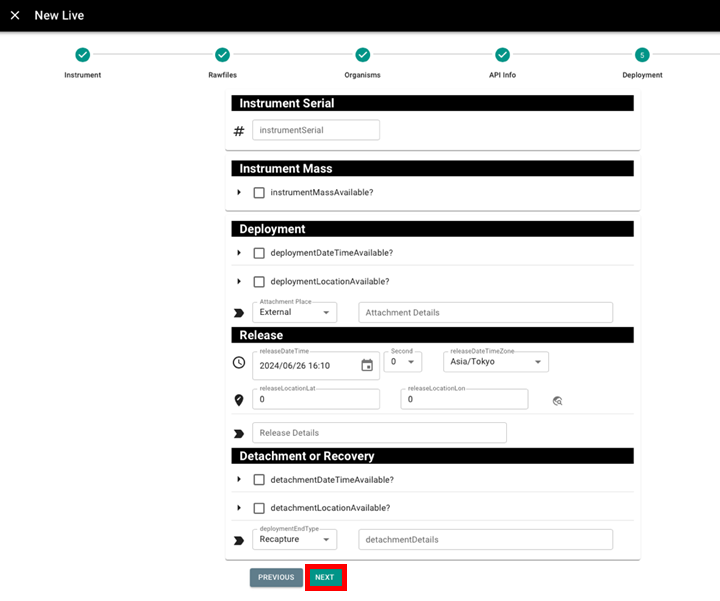
装着情報(Deploypment)を入力して、Nextをクリックする。
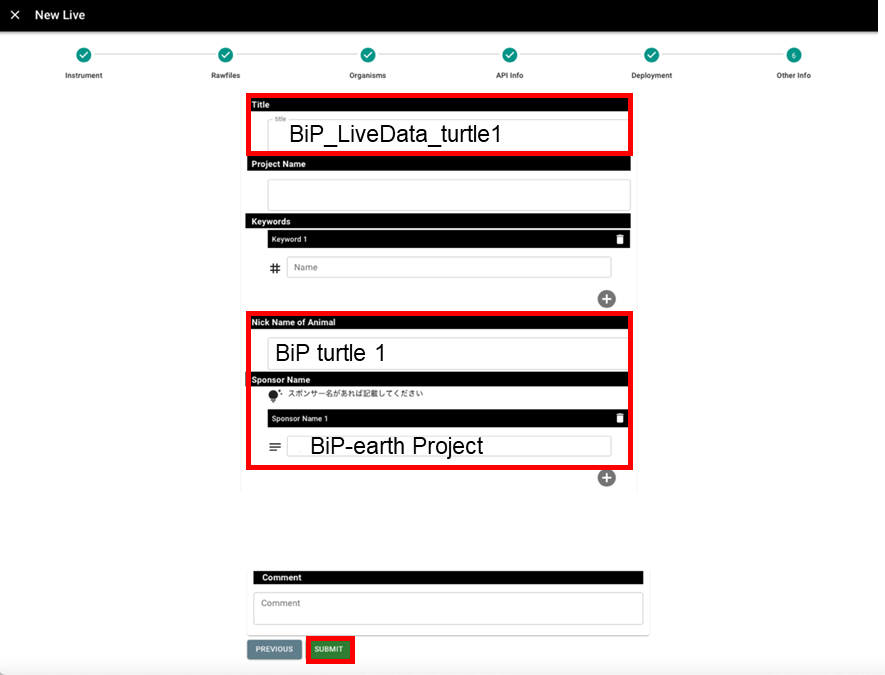
その他の情報(Other Info)を入力する。Title、Nick Name of Animal、Sponsor NameはLive Mapの初期画面に表示される。SUBMITをクリックするとファイルが作成される。
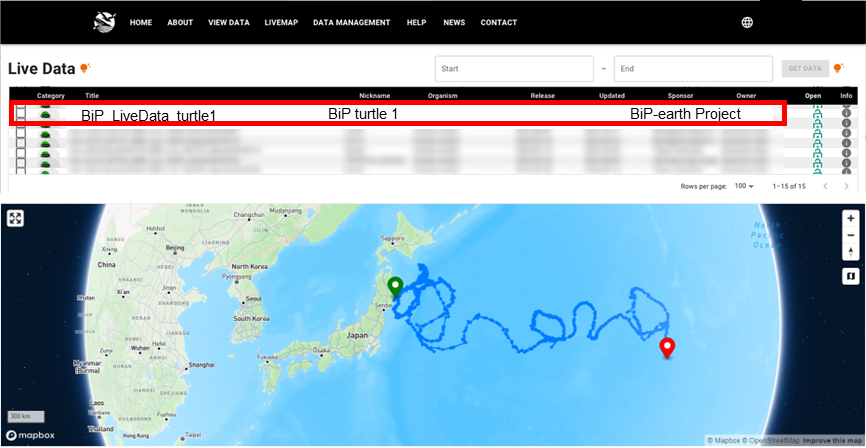
Live Mapへ行き、リストの先頭行に登録した個体が表示されていることを確認する。